
Why won’t my image upload?
A picture can look right and still miss an upload rule. Check its format, file size and pixel dimensions to find the change you actually need.
Start with the website’s upload rules
Read the text beside the file picker and the exact error message. An application form might ask for a JPG under 200 KB and a maximum width of 800 pixels. Those are three separate checks: meeting one does not satisfy the others.
- Format
- JPG
- What kind of image file is it?
- File size
- 193,937 bytes
- How much data does it contain?
- Dimensions
- 1,600 × 1,000 px
- How wide and tall is the image?
This actual sample JPG is below a 200,000-byte limit, but its 1,600-pixel width would still fail an 800-pixel maximum. A small file is not necessarily a small image.

Check the file’s information on your device before editing. On a Mac, open it in Preview and use the Info button to view its properties; Apple documents the Preview Inspector. On other devices, look for file properties or an image information panel that lists bytes and pixel dimensions.
“File type not supported”: convert to an accepted format
A site that asks for JPG may reject a HEIC photo or a WebP downloaded from another website. JPG and JPEG are names for the same format, but HEIC, WebP and PNG are different formats.
Changing a filename from .heic to .jpg does not convert the image. Create a real copy in one of the formats listed by the website.
- HEIC to JPGFor supported HEIC or HEIF still photos, including typical 24 MP iPhone photos. 48 MP originals exceed this tool’s 26 MP limit.
- WebP to JPGFor static WebP images when the destination asks for JPG.
- PNG to JPGChoose a background color: JPG cannot retain transparency.
- WebP to PNG or JPG to PNGIf the destination specifically requires PNG. Converting JPG to PNG does not remove its background.
A real HEIC-to-JPG example
Our demonstration HEIC is 2,586 bytes. Its converted JPG is 2,754 bytes at the same 640 × 480 pixels. The format changed; the file did not get smaller.
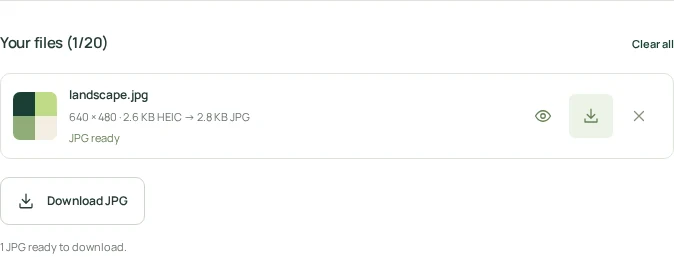
Download the original HEIC or the converted JPG. This is project artwork, not a user photo.


Being able to select a file does not guarantee acceptance. The destination can check it again after selection. MDN explains file-picker type hints.
“File too large”: reduce the number of bytes
A 200 KB upload limit is about file size, not width or height. For a JPG, start with Compress JPG and choose a maximum per image.
- Add your JPG or JPEG. Convert other formats first if the destination accepts JPG.
- Choose 100 KB, 200 KB or 500 KB, or set a custom maximum. The target applies to each JPG, not the ZIP.
- Compress, inspect the preview and read the actual result size.
- If it says Target not reached, explicitly choose a smaller longest side only if the destination’s pixel rules allow it, then retry.
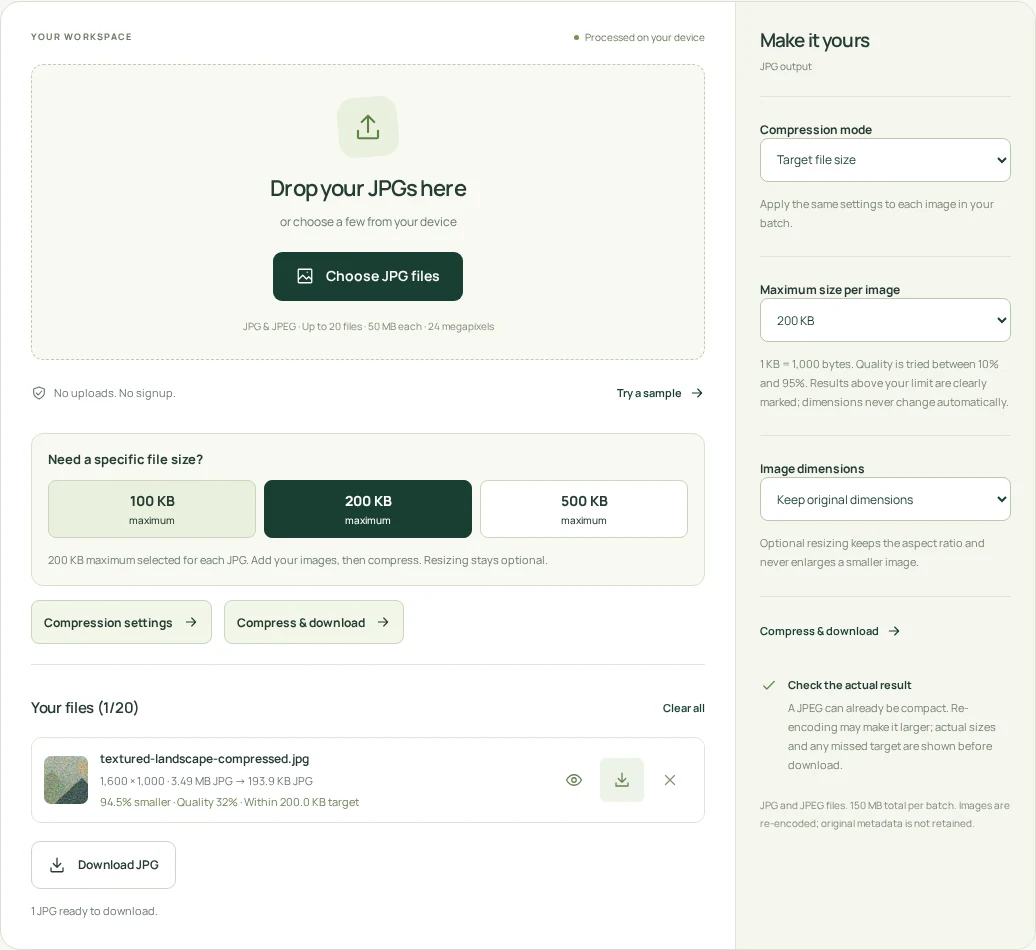
FileTavi uses 1 KB = 1,000 bytes, so its 200 KB maximum means 200,000 bytes. Some services use a different convention; follow their stated byte limit when available. If the rule requires strictly less than a size, choose a slightly lower custom maximum. Browsers measure a file’s size in bytes.
Lower JPEG quality loses detail. No quality setting guarantees that every photo will reach a tiny limit, and re-encoding an already compact JPG can make it larger. Keep the original and inspect the downloaded copy.
“Invalid image dimensions”: check width and height
If a website asks for a maximum width, minimum height or exact dimensions, changing JPEG quality alone will not fix that rule. Use Resize Image for JPG and static PNG files.
- Read whether the website specifies a maximum, a minimum or an exact size.
- Choose width, height or percentage. FileTavi keeps the image’s proportions.
- Check both output dimensions and the final file size before downloading.
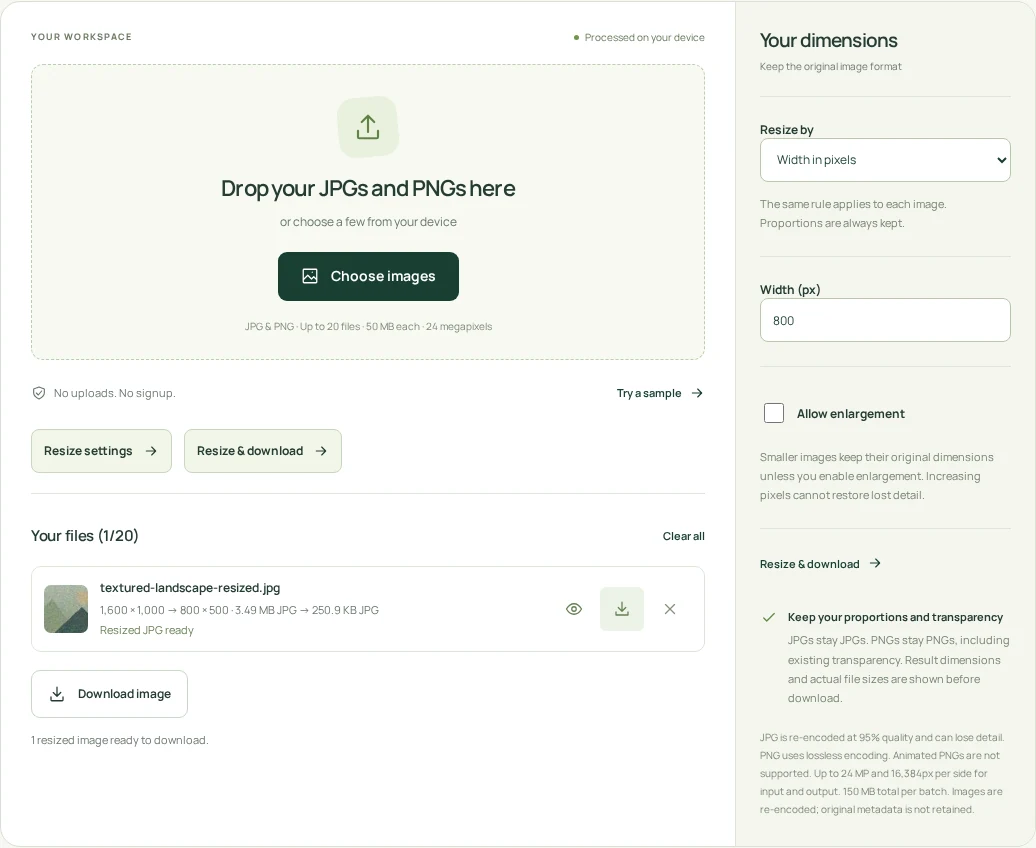
The actual resized JPG is 800 × 500 pixels and 250,889 bytes. It meets an 800-pixel width maximum but still exceeds 200,000 bytes. Pixel dimensions and file size need separate checks.

Need exactly 800 × 800? A rectangular image may need cropping first in an image editor. FileTavi’s resizer keeps proportions and does not crop or stretch. Enlargement is off by default; adding pixels cannot restore missing detail.
PNG resizing keeps existing transparency. Converting it to JPG fills transparent areas instead. Choose the format the destination accepts and check the preview.
What if all three properties look right?
First, open the downloaded image on your device. A partial download or damaged file needs a fresh copy from the original source. Do not repeatedly compress a file that already meets the rules.
Make sure you are selecting the converted file, not its original or a ZIP of several results. If you used Download ZIP, extract it and choose an individual image.
Save any unfinished form before reloading. Confirm you are signed in, check your connection and try one file in a current browser. If a known-good image also fails, check the destination’s service status or contact its support with the exact error. Changing an image cannot fix an expired session or an unavailable upload service.
Before you try again
- The file contains a format the destination accepts, not just a renamed extension.
- Its actual byte size is within the stated limit.
- Both width and height satisfy the pixel rules.
- The preview still looks clear enough for its purpose.
- You are choosing the new image file, not the original or the batch ZIP.
If several changes are needed, convert the format, set the required dimensions, then check compression last. Recheck all three properties on the final downloaded file. Keep your original.
Choose an image tool